
Aftershock
By Bryan · BrawlBack to guides
Welcome to Bryan’s Brawl Gazette, “Aftershock” edition! If you are completely new to the Brawl, be sure to read the Brawl guide before moving on with this week’s challenge.
This week, all structures cost 2 mana regardless of their initial mana cost.
General strategy
This is a brawl that depends on RNG mainly because of Doctor Mia, but not only that, decision making is tremendously important to win. So let’s go with some basic points:
Structure Placement
Your structures will trigger at the start of your turn from top to bottom, and from left to right. Knowing this, there are 2 things to bear in mind when deciding where to place your structures:
- You should always place your Trueshot Post in the left side of the board, and Siege Assembly / Mech Workshop in the right side. If there’s a unit in front of them, Trueshot Post will trigger first and may destroy that unit, so Siege Assembly can deal base damage, or Mech Workshop can spawn a construct.
- Place your structures somewhere Siegebreakers can’t destroy them all. It’s important to look at the board and the current mana, ask yourself if the opponent could destroy your structures with Siegebreakers in the next couple of turns, that will let you know if you can place, for example, Mech Workshop and Siege Assembly besides each other, or if you should leave more space between your structures.
Because your structures trigger from left to right, Trueshot Post will trigger first and destroy the unit blocking your Mech Workshop, which will now be able to spawn a construct.
Unit placement
The basic thing to bear in mind when placing your units is to put them in front of your structures so they can take the shots and keep the structure alive. The perfect mana 3 turn is usually Green Prototypes + Trueshot Post behind, this means that if the opponent used Doctor Mia + Trueshot Post they will kill Green Prototypes, and your Trueshot will survive. When you are on the attack, place your units with a space between them in the opponents baseline to prevent them from using Doctor Mia + a structure, since Mia can only trigger surrounding structures at level 3.
Because Green Prototypes are in front of Trueshot Post, the enemy can’t destroy it directly with another structure.
In this position, your units are preventing the opponent’s Mia because she can only trigger surrounding structures at level 3.
Cycling
What you should try to do in this brawl is cycling as fast as possible to get Mia and your important structures quick, so the order in which you play/discard your cards matters a lot. Normally, make sure you play/discard what you want to get faster.
Structure prioritization
Not all structures are of equal importance in this brawl. This is the way you should normally prioritize them: Trueshot Post → Mech Workshop → Siege Assembly → Powder Tower → Upgrade Point. When and where you place them will depend on the situation, but that’s normally the importance you should give to each one. Some insight into each one:
- Trueshot Post: it will continuously control the board for you, destroying enemy units and structures, limiting what they can do. It’s usually the key structure in the game, so make sure it’s well protected.
- Mech Workshop: May as well be as important as Trueshot Post, because this structure gives you a 4 str unit every turn, which will serve to tank shots and expand your frontline for a potential siegebreakers in the next turns. It basically helps you defend and attack at the same time.
- Siege Assembly: it’s the main win condition for this brawl, but it’s not as important as controlling the board with the aforementioned structures. Normally prioritize controlling the board before focusing on dealing damage.
- Powder Tower: This structure is mostly useful to clear the opponent’s board presence, since at level 3 it will kill some cheap cards that are also 3 str. It’s also useful to destroy some weakened structures, but most times Powder Tower won’t be enough to destroy the opponent’s structures, and Mia/destructobots also survive their damage. The damage it deals to the base is important and can help finish the match, but it’s not the biggest priority.
- Upgrade Point: this structure is optional, I decided to use it mainly to tank Siege Assembly shots and defend. The main purpose of UP in this brawl isn’t to buff but to act as a shield and also to make pressure. For example, if you place an UP in the middle of the board with some constructs surrounding it, the opponent will most likely need to do something about it, which distracts them from other important structures you may have in your baseline, such as Trueshot or Siege. So basically, use UP as a defense, and buff with it if there’s a chance, but don’t prioritize it as your goal in the match.
When to use Mia
When to use Mia: You shouldn’t simply use Mia with the first structure you get. Most times it will be good to wait at least one turn so you can use it with a structure that will help you control the board better. Don’t wait too much to use her, but don’t rush her either. Try to think if the inmediate value she provides can be more useful in a turn or two, and also consider if you really need to use her right now.
Check the community-provided decks for this brawl. You might find a deck that suits you, or that you can base your own creation on.
Possible Decks
Bryan’s Warrior Spin
Here’s the deck I used for Warrior brawl, I believe nothing should be changed in this deck besides Upgrade Point. Some other card might fit there, and I’ve seen others using something else instead of Gifted, but I find Gifted Recruits’ movement to be useful, so eh.
I also tried SF, with frog spam trying to tank hits, but it got outvalued in the end, so in the end it’s always Doctor Mia with the usual structures and trying to cycle fast.
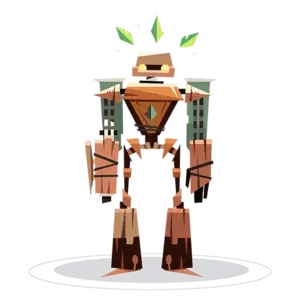
- Green Prototypes
1
 3
3 - Summon Militia
1
 3
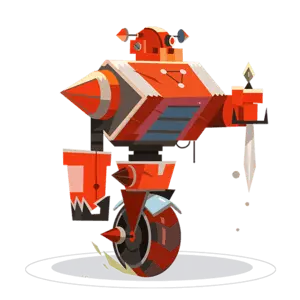
3 - Destructobots
2
 3
3 - Doctor Mia
2
 3
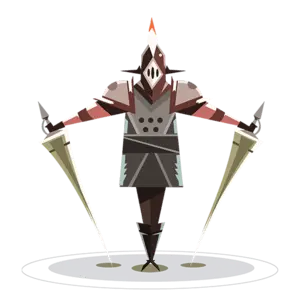
3 - Gifted Recruits
2
 3
3 - Wild Saberpaws
2
 3
3 - Upgrade Point
3
 3
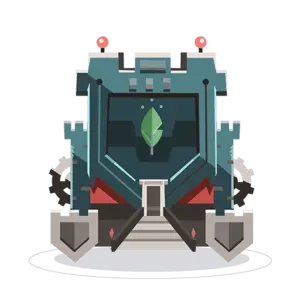
3 - Mech Workshop
4
 3
3 - Siegebreakers
4
 3
3 - Siege Assembly
5
 3
3 - Trueshot Post
5
 3
3 - Powder Tower
6
 3
3
Extra tips
Never play your Trueshot Post alone in the board in mana 3, and generally, whenever you are unsure if it will survive or not. It’s your most important structure, if you place it without protection your opponent could destroy it with Mia and the match will be too hard or even irrecoverable at that point.
Don’t try to preserve all your structures through the whole match. Bear in mind which structures are most important, and use the least important ones to protect the important ones. For example, you can place a Mech Workshop in front of the enemy baseline, to distract him from destroying your Trueshot Post by your own baseline. Or use an UP besides some constructs near their base so they need to do something about it, and leave your Siege Assembly alone.
Bait Execution. Most Silver-Platinum, and even some Diamond players, may be running Execution. So sometimes it might be better to start the game on mana 4 with Siege Assembly or another structure, then they’ll kill it with execution and you can place your Trueshot safely, winning the game from that point.
If you get an early hand with only units, try to rush as quick as possible with them. Use Wild Saberpaws for that. If you can’t place your structures right away, gaining frontline may allow you to use Siegebreakers.
Use the Brawl calculator to plan your journey. To monitor your progress and keep track of your expenses during the Brawl, be sure to use the Brawl tracker.
See you on the battlefield! If you have any comment or suggestion, get in touch with oeni#7266 on Discord.
Looking to teach others and guide them towards glorious battles?
Have your own guide published.